Your Browsing History
- Free 15-day Returns
$96.37
Ships from Hong Kong.
Best Sellers
- $94.89
- + FREE SHIPPING

Meet Your Seller
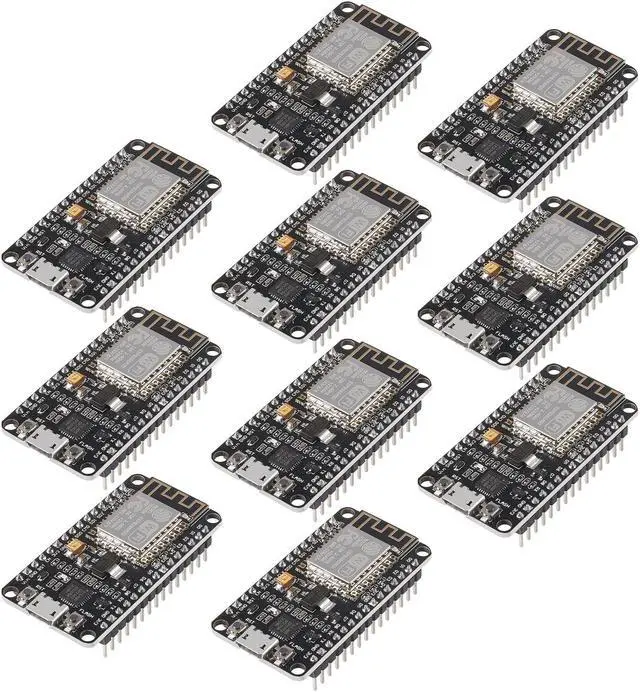
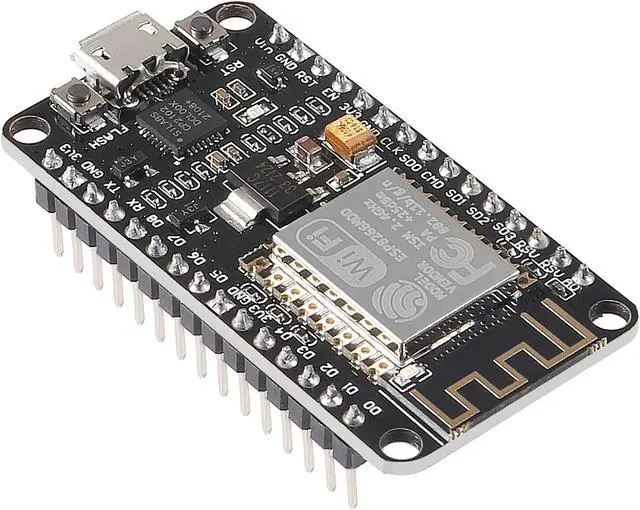


10PCS ESP8266 ESP-12F Development Board Internet NodeMCU WiFi Serial Wireless Module NodeMCU-12F CP2102 Based on ESP8266 WiFi Module for motherbord IDE/Micropython
- ESP8266 is a highly integrated chip designed for the needs of a new connected world.It offers a complete and self-contained Wi-Fi networking solution, allowing it to either host the application or to offload all Wi-Fi networking functions from another application processor.
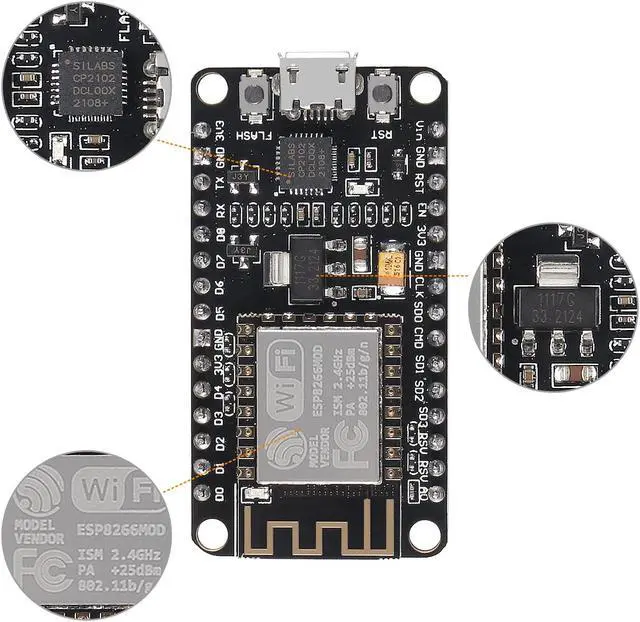
- The controllers are easy to program by using the CP2102-USB interface without having to press the flash and reset buttons before each flash operation.
- It is an integrated unit with all available resources on board. It's very easy for Arduino projects or any development board with I / O pins. Modern Internet development tools can use the built-in API to instantly put your idea on the fast track.
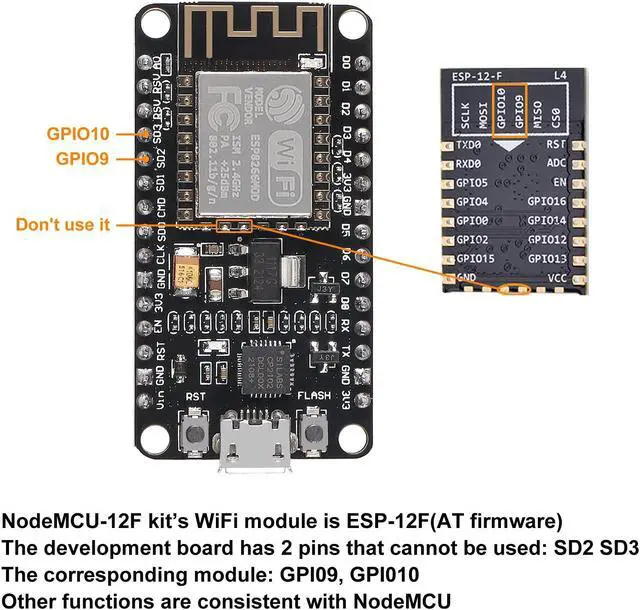
- ESP8266 NodeMcu board has powerful on-board processing and storage capabilities, allows to be integrated with sensors and other specific applicated devices through its GPIOs.
- Perfectly compatible with the motherbord IDE/Mongoose IoT/Micropython. This ESP8266NodeMcu development board can be use for small
+
+
Overview
Specs
Reviews
Steps of
How to use:
1. Download the motherbord IDE, the latest version.
2. Install the IDE
3. Set up your motherbord
IDE as: Go to File. Preferences and copy the URL below to get the
ESP board manager extensions:
http: //arduino. esp8266. com/stable/package_esp8266com_index. json.
Placing the http: // before the URL lets the IDE use it. Otherwise it gives you a protocol error.
4. Go to Tools > Board > Board Manager> Type ""esp8266"" and download the Community esp8266 and install.
5.
Set up your chip as:
Tools -> Board -> NodeMCU 1.0 (ESP-12E Module)
Tools -> Flash Size -> 4M (3M SPIFFS)
Tools -> CPU Frequency -> 80 Mhz
Tools -> Upload Speed -> 921600
ToolsPort (whatever it is)
6. Download and run the 32 bit flasher exe at Github(Search for nodemcu/nodemcu-flasher/tree/master/ at Github)
github. com/nodemcu/nodemcu-flasher/tree/master/Win32/Release Or download and run the 64 bit flasher exe at: github. com/nodemcu/nodemcu-flasher/tree/master/Win64/Release
7. In motherbord IDE, look for the old fashioned Blink program. Load, compile and upload.
8. Go to FILE> EXAMPLES> ESP8266> BLINK, it will start blinking.
Firmware link:
http: //github. com/nodemcu/nodemcu-firmware
The Data download access to the website:
http: //www. nodemcu. com
Test Video:
http: //www. youtube. com/watch? v=Gh_pgqjfeQc
Package including:
10 x ESP8266 ESP-12F NodeMcu development board
Warranty & Returns
Warranty, Returns, And Additional Information
Warranty
- Please contact the Seller directly for warranty information. Warranty information may also be found on the Manufacturer's website.
- CONTACT
Return Policies
- Return for refund within: 15 days
- Return for replacement within: 30 days
- This item is covered by Qixingitech Return Policy
Manufacturer Contact Info
- For a directory of all our manufacturers, please click below.
- Manufacturers Directory
LOADING...
LOADING...