


- Free 30-day Returns
$120.99
Ships from United States.
Sold by Ali Wangwang E-commerce Limited
Shipped by Ali Wangwang E-commerce Limited

Meet Your Seller

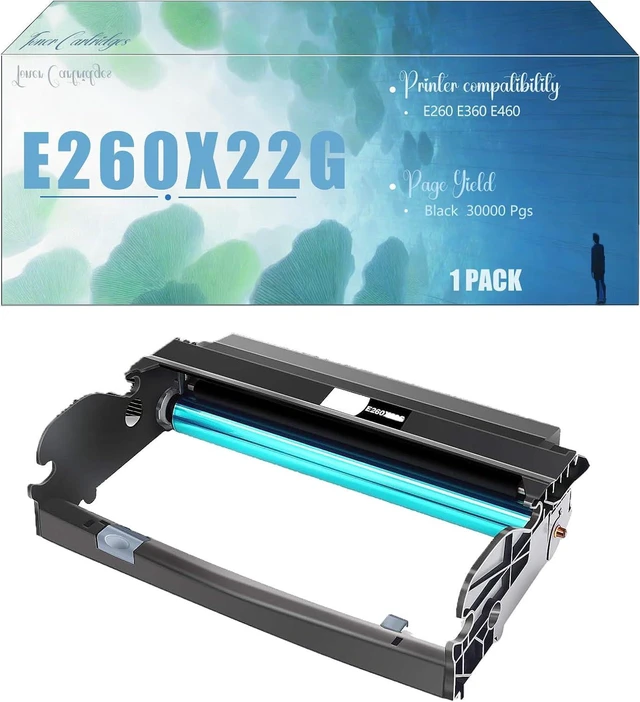







E260X22G Compatible Drum Unit (Not Toner) Replacement for Lexmark E260 E360 E460 Printers, High Yield (30000 Pgs) Black
- Compatible Printer Models: For E260 E360 E460 printers
- E260X22G Drum Unit Page Yield: 30000 pages per black drum unit, at 5% coverage of A4 size (no toner)
- Exceptional Print Quality: High-precision drum and gears ensure consistent toner spread. Produces distinct text and detailed images for business, school, or home use
- Effortless Installation: Tool-free design with clear instructions. Install it easily, no matter your experience level
- Long-Lasting Performance: Made of strong materials with a wear-resistant coating. Resists damage, extends lifespan and cuts replacement needs
+
+
Overview
Specs
Reviews
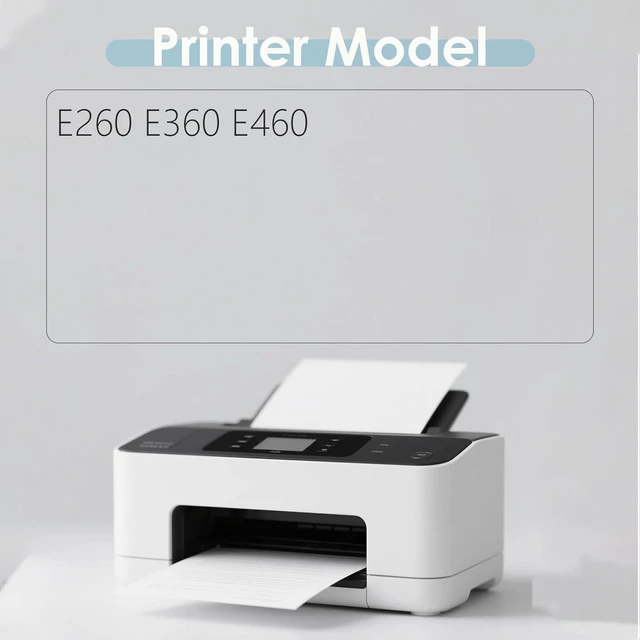
Adaptation Printer Model Confirmation
E260 E360 E460 Printers
Installation Steps
1.Before you start, turn off the printer and unplug it from the power source to avoid any electrical risks. Locate and open the door where the drum unit is housed.
2. Carefully take out the old drum unit. If your printer has indicator lights or prompts, follow them to ensure proper removal.
3. Check the new drum unit for any signs of damage or defects. Make sure all parts are in good condition.
4.Gently place the new drum unit into the printers drum compartment. Ensure it is properly aligned and securely seated. You may need to press down gently until you hear a click sound, indicating its properly installed.
5. Once the new drum unit is in place, close the printers drum access door.
6. Reconnect the power cord and turn on the printer. The printer may run an initialization process; just wait patiently.
7.Run a test print to check the print quality. Make sure the text is clear and there are no streaks or shadows. If you notice any issues, double-check the drum unit installation.
E260 E360 E460 Printers
Installation Steps
1.Before you start, turn off the printer and unplug it from the power source to avoid any electrical risks. Locate and open the door where the drum unit is housed.
2. Carefully take out the old drum unit. If your printer has indicator lights or prompts, follow them to ensure proper removal.
3. Check the new drum unit for any signs of damage or defects. Make sure all parts are in good condition.
4.Gently place the new drum unit into the printers drum compartment. Ensure it is properly aligned and securely seated. You may need to press down gently until you hear a click sound, indicating its properly installed.
5. Once the new drum unit is in place, close the printers drum access door.
6. Reconnect the power cord and turn on the printer. The printer may run an initialization process; just wait patiently.
7.Run a test print to check the print quality. Make sure the text is clear and there are no streaks or shadows. If you notice any issues, double-check the drum unit installation.
Warranty & Returns
Warranty, Returns, And Additional Information
Warranty
- Please contact the Seller directly for warranty information. Warranty information may also be found on the Manufacturer's website.
- CONTACT
Return Policies
- Return for refund within: 30 days
- Return for replacement within: 90 days
- This item is covered by Ali Wangwang E-commerce Limited Return Policy
Manufacturer Contact Info
- For a directory of all our manufacturers, please click below.
- Manufacturers Directory
LOADING...