Specifications:
Condition: Brand New
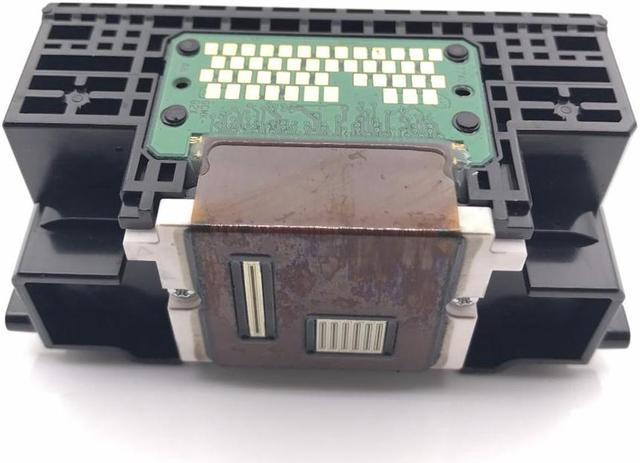
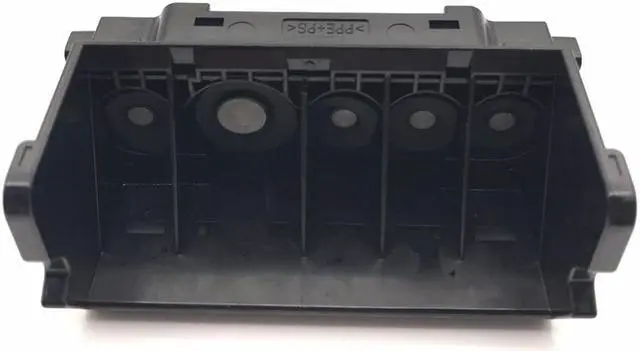
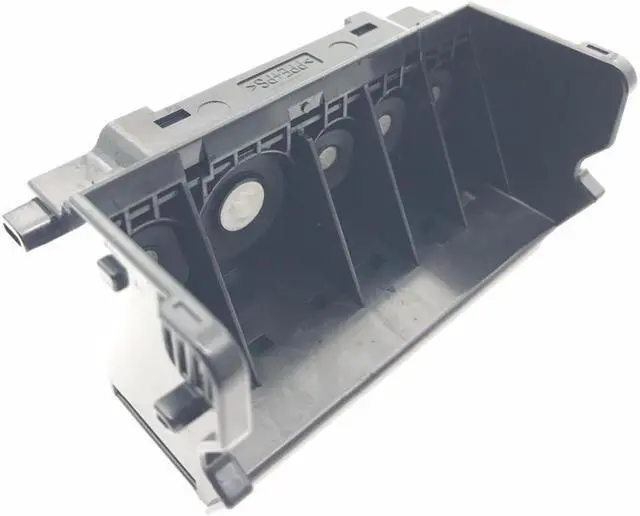
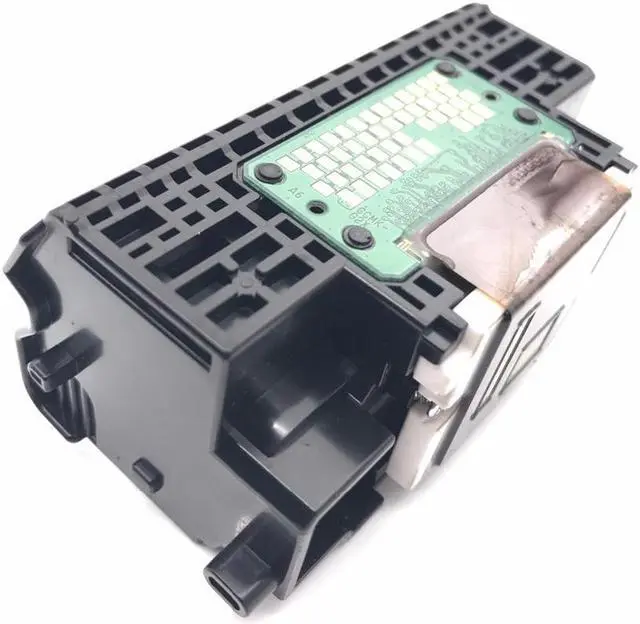
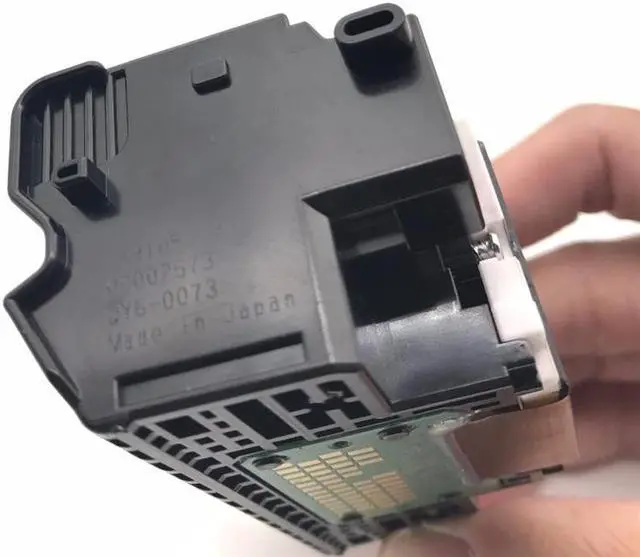
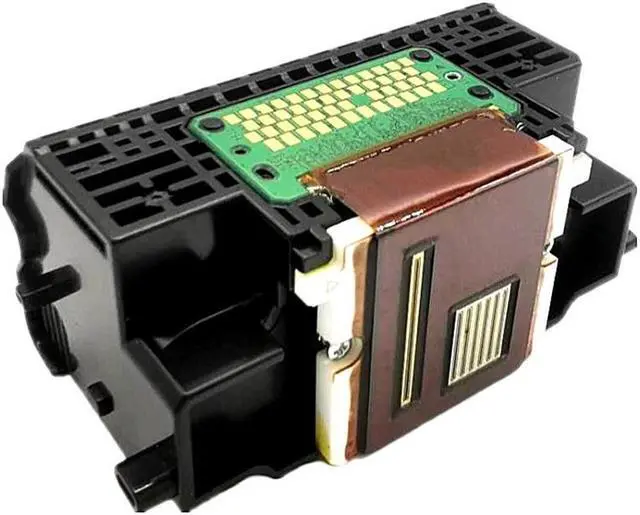
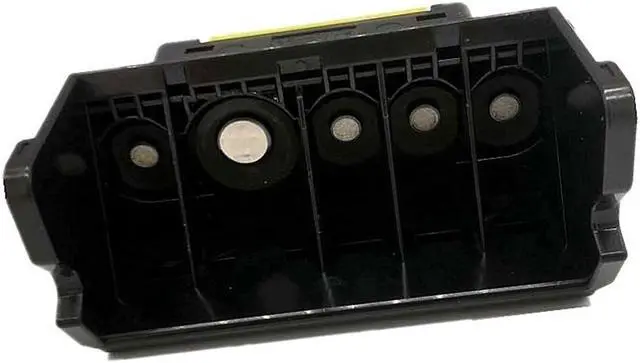
Product Name:Print Head QY6-0080
Print Color: multicolor
Compatible Model: for: IP4820;MX892;MG5320;IX6510;6560;MX882;886 iP4850 MG5250 MX892 iX6550 MG5320 mg5350 ix6500
Installation Steps:
1.Make sure the power is on.
2.Lift the scan assembly until it locks in place (1). The print head bracket moves to the middle.
3.Open the output tray (2).
4.Open the inner cover. Caution: A. do not attempt to move or block the print head bracket manually. b. Do not touch any
metal parts. c. Do not touch transparencies (a), film connector (b), ink collector (sponge part) (c) or any metal parts.
5.Lift the fixing rod and take out the print head. The print head can be removed with the ink cartridge.
6.Then put the print head back in place and press down the fixing rod.
7.Close the inner cover. Caution: press the middle of the inner cover until it locks into place.
8.Return the scan assembly to its original position. The LCD displays a message asking if the ink cartridge has been replaced.
9.Press the [right arrow] and select [no] to exit.
10.Put letter or A4 size plain paper in the automatic paper feeder.
11.Press [copy] or [Photo].
12.Press [menu] repeatedly until [user data] appears.
13.Select [maintenance] using [left arrow] or [right arrow].
14.Press .
15.Use [left arrow] or [right arrow] to select [align head].
16.Press . This machine prints the print head position pattern.
17.Starting from column a of the printout, mark the tick mark in the pattern closest to the image. (A) Column a (b): poor
example (least compact box) (c): good example (most compact box)
18.Use [left arrow] or [right arrow] to select the number of the pattern in column a of the printout in step 17.
(A) : column: select the number of the pattern closest to the image.
19.Press .
20.Repeat steps 18 and 19 for columns B through K.
Package Included:
1pc x Print Head
Notes:
Other accessories demo in the picture is not included.
Due to the light and screen setting difference, the item's color may be slightly different.
Precautions for use:
1. Before installing the print head of the printer, make sure that the printer can be used normally and the main board is in normal contact.
2. Clean the ink cartridges of the printer before installation. If you install printhead when it is not clean, it is easy to burn.
3. Wipe the chip print head (copper sheet position) with chip protection liquid, and then install the print head repeatedly.