
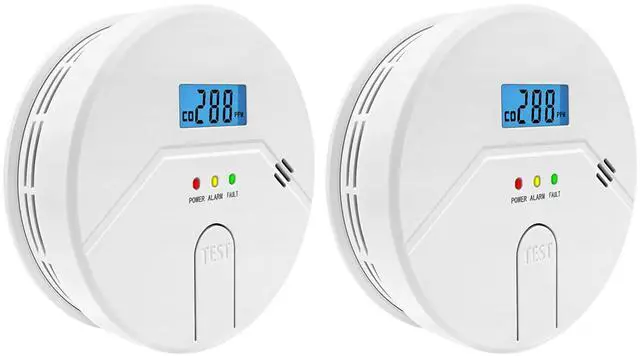


2 in 1 Smoke and Carbon Monoxide Alarm

Test & Work Status & Troubleshooting Tips

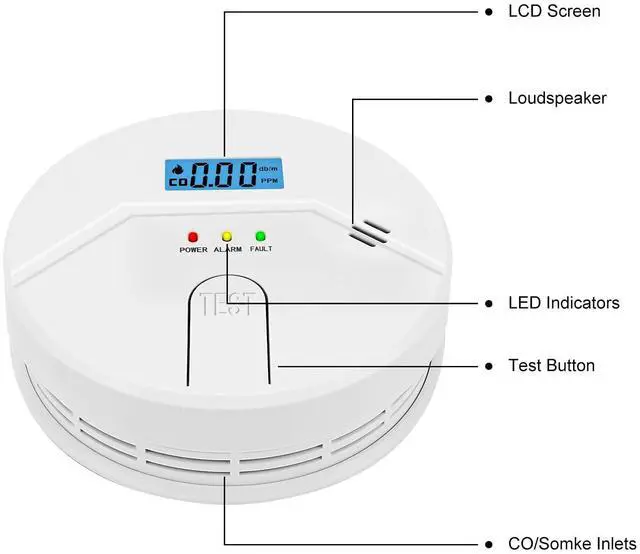
Test button for battery and alarm operation verification, Test button; tests unit’s electronic circuitry, buzzer and battery function.
Once the batteries are installed, the unit will automatically turn on and when you press the “Test” button,
the screen will light up and sound an alarm for a few seconds to indicate that it is working, then the LCD display will remain stationary.
The green LED will flash every 60 seconds or so to indicate that the unit is operating normally.
If the unit does not perform as described, verify the battery whether it is connected correctly and that the battery does not need replacing.
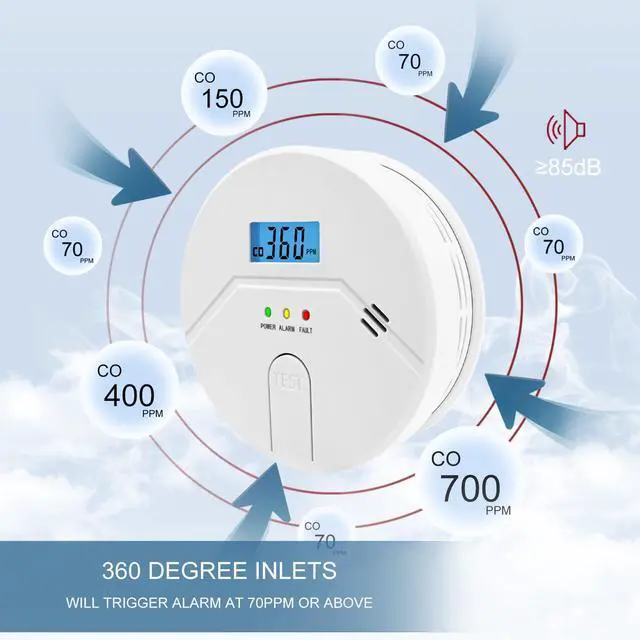
The alarm needs to reach a certain threshold before it will alarm, refer to the manual for details.
Any operation problems, welcome to refer to the details page.

85db Alarm
After installation, test the unit by pressing the test button for five seconds. A series of beeps will sound.

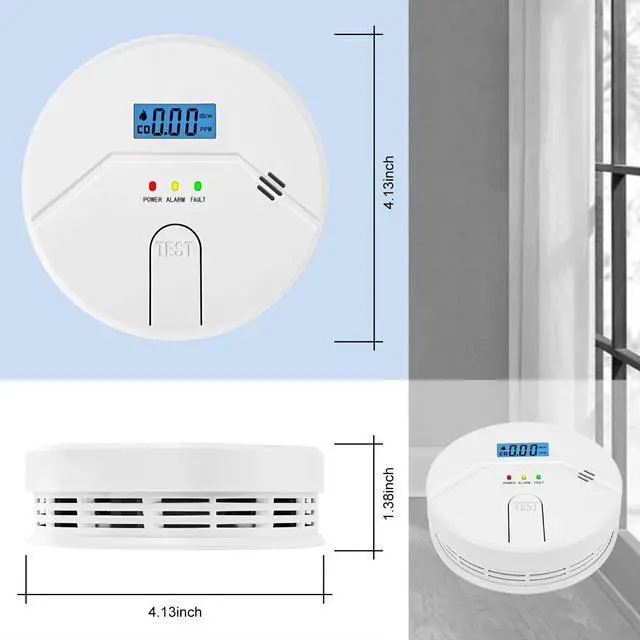
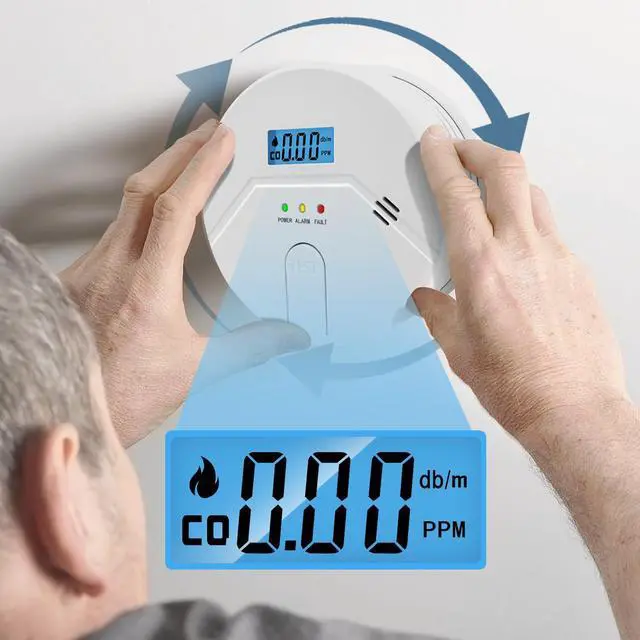
Easy to Install
Low battery warning; smoke alarm will chirp once every 30s to remind user of replacing a new battery.

Digital Large Display
CAUTION: Do not press test/reset button while installing batteries. Otherwise, the unit will not work. WARNING!

Do a Good Job for Home
It is designed to detect carbon monoxide gas from any source of combustion. It is not designed to detect any other gas.
We recommend the installation of a Smoke&CO Alarm in the following locations.

Ceiling mounting is preferred in ordinary residential construction.
- For maximum protection we suggest an alarm be installed on each level of a multilevel home including every bedroom, hallways, finished attics and basements.
- Put alarm at both ends of bedroom hallway or large room if hallway or room is more than 30ft.(9.1m) long.
- When mounting an alarm on the ceiling locate it at a minimum of 4”(10cm) from the side wall.
- If installing the alarm on the wall, at a minimum of 4”(10cm) and a maximum of 12”(30.5cm) below the ceiling
Tips

2 in 1 Smoke and Carbon Monoxide Alarm
Test & Work Status & Troubleshooting Tips
Test button for battery and alarm operation verification, Test button; tests unit’s electronic circuitry, buzzer and battery function.
Once the batteries are installed, the unit will automatically turn on and when you press the “Test” button,
the screen will light up and sound an alarm for a few seconds to indicate that it is working, then the LCD display will remain stationary.
The green LED will flash every 60 seconds or so to indicate that the unit is operating normally.
If the unit does not perform as described, verify the battery whether it is connected correctly and that the battery does not need replacing.
The alarm needs to reach a certain threshold before it will alarm, refer to the manual for details.
Any operation problems, welcome to refer to the details page.
85db Alarm
After installation, test the unit by pressing the test button for five seconds. A series of beeps will sound.
Easy to Install
Low battery warning; smoke alarm will chirp once every 30s to remind user of replacing a new battery.
Digital Large Display
CAUTION: Do not press test/reset button while installing batteries. Otherwise, the unit will not work. WARNING!
Do a Good Job for Home
It is designed to detect carbon monoxide gas from any source of combustion. It is not designed to detect any other gas.
We recommend the installation of a Smoke&CO Alarm in the following locations.
Ceiling mounting is preferred in ordinary residential construction.
- For maximum protection we suggest an alarm be installed on each level of a multilevel home including every bedroom, hallways, finished attics and basements.
- Put alarm at both ends of bedroom hallway or large room if hallway or room is more than 30ft.(9.1m) long.
- When mounting an alarm on the ceiling locate it at a minimum of 4”(10cm) from the side wall.
- If installing the alarm on the wall, at a minimum of 4”(10cm) and a maximum of 12”(30.5cm) below the ceiling
Tips