





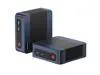


VTA-439
A Powerful Mini PC Ideal for Professionals
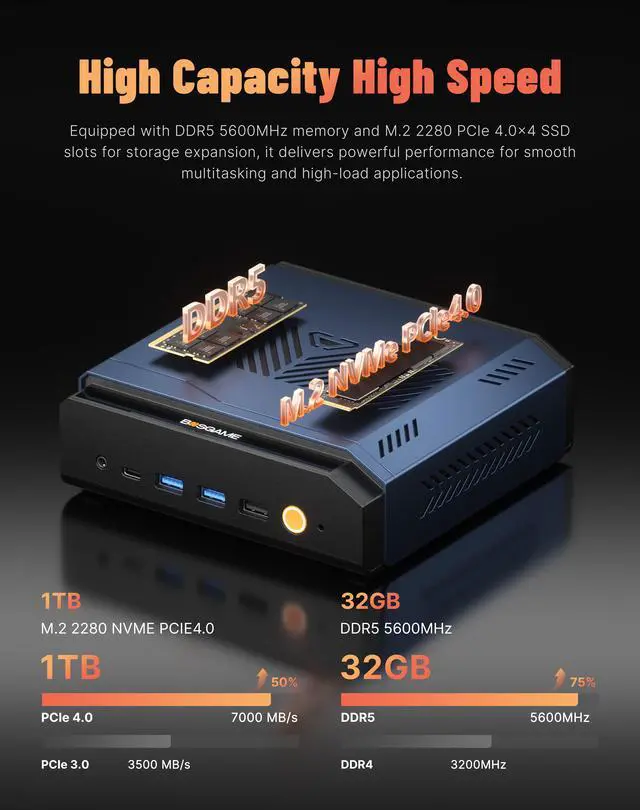
Upgrade-Friendly DDR5 RAM & Triple M.2 SSD Slots
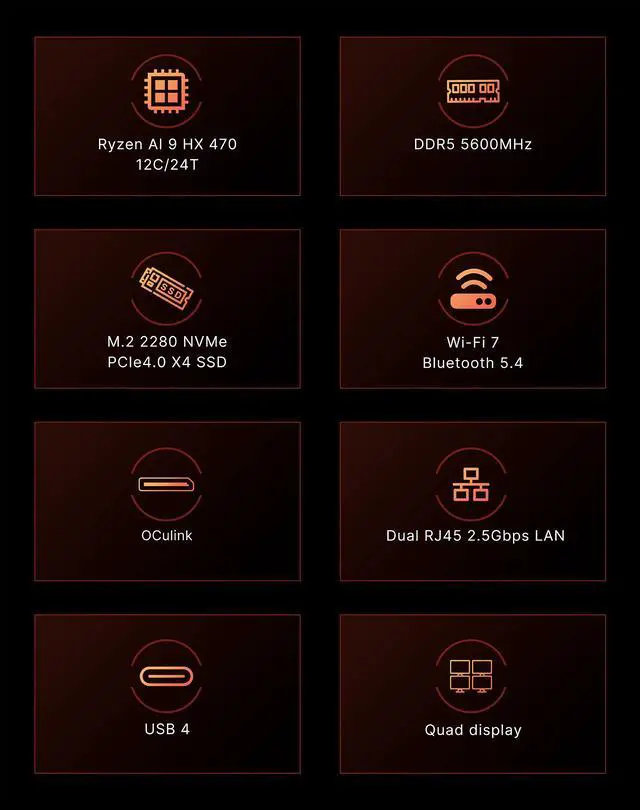
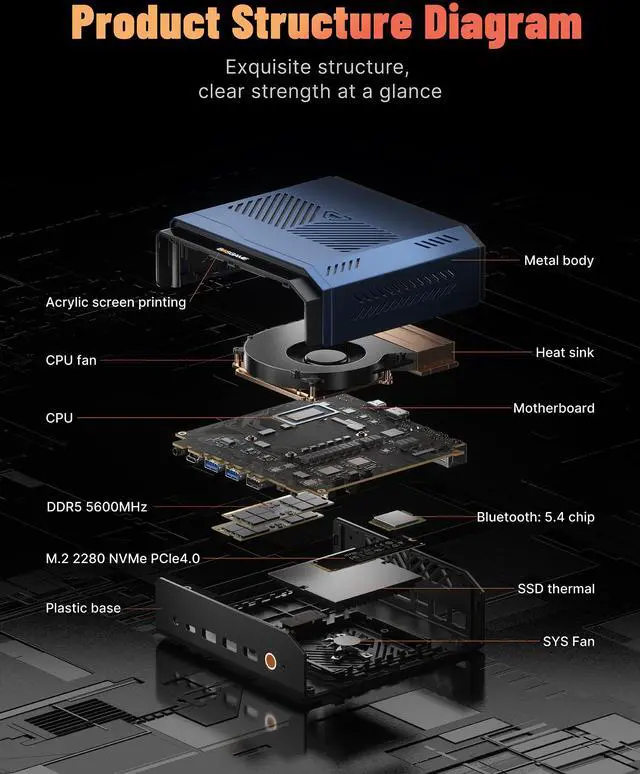
Adopts dual-channel memory slots for lag-free multi-task processing. Featured with three independent M.2 2280 NVMe SSD bays to expand storage capacity up to several TBs, matching massive file storage, content creation and gaming storage demands perfectly.
* All images are for illustration only. Memory and SSDs are not included and sold separately.


Top-Tier AMD Ryzen AI 9 HX470 Processor & Radeon 890M iGPU
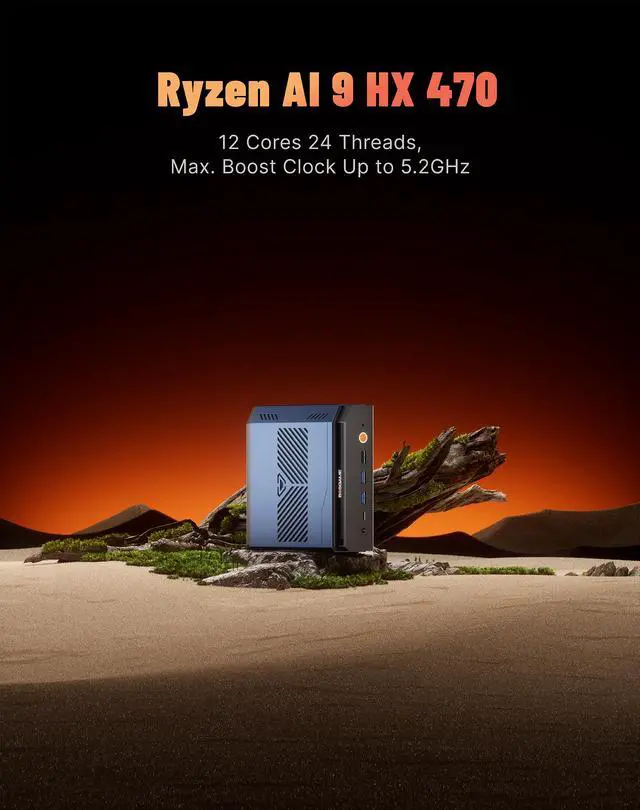
Powered by AMD Ryzen AI 9 HX 470 CPU (boost clock up to 5.20GHz, 24MB L3 Cache) paired with 16-Core Radeon 890M Graphics running at 3100MHz. Delivers total 86 TOPS computing performance including 55 TOPS from dedicated built-in NPU chip. Outperforms regular mini PCs greatly on AAA gaming gameplay, AI image generation and high-load video rendering tasks.
Cutting-edge Full-Function I/O Interface
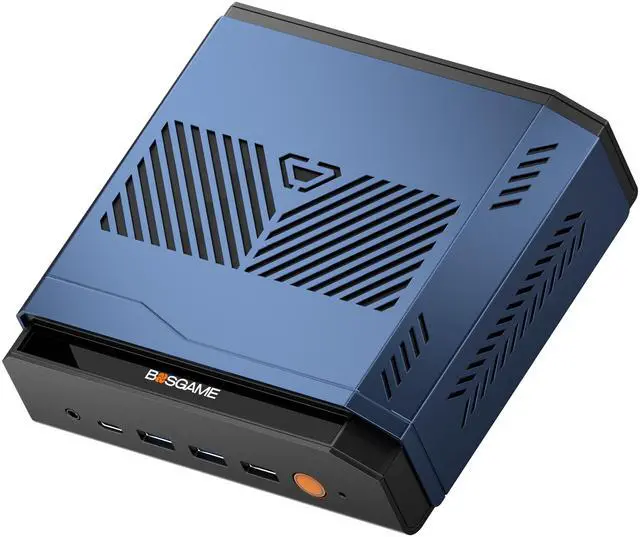
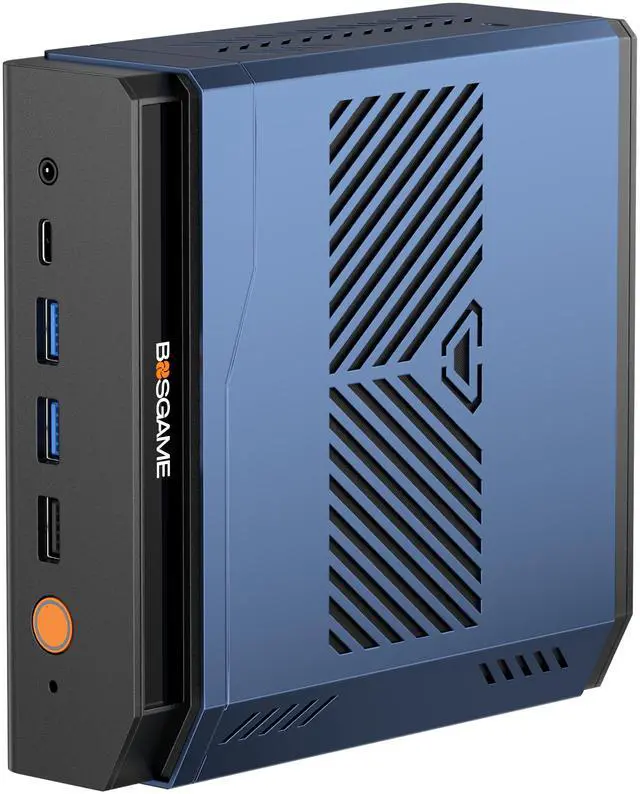
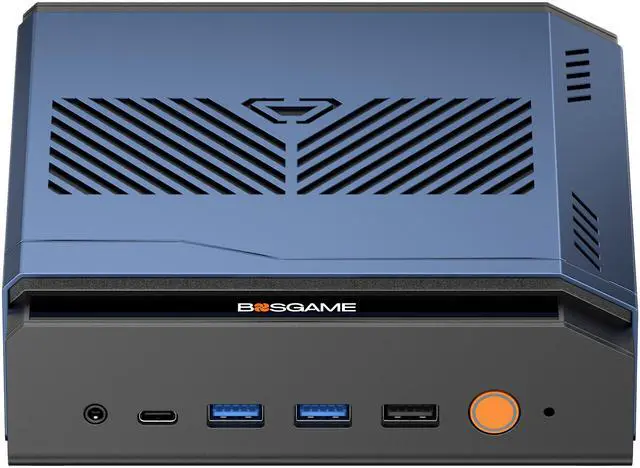
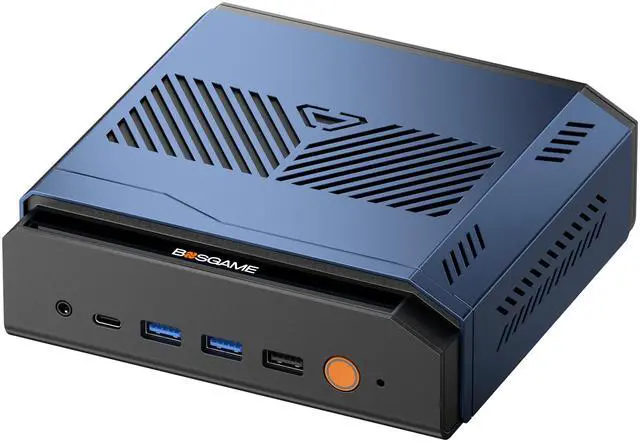
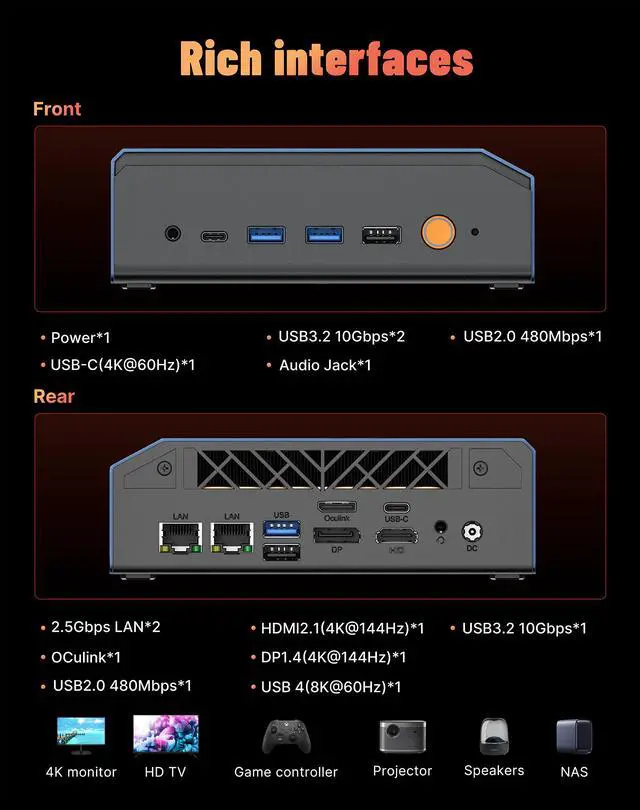
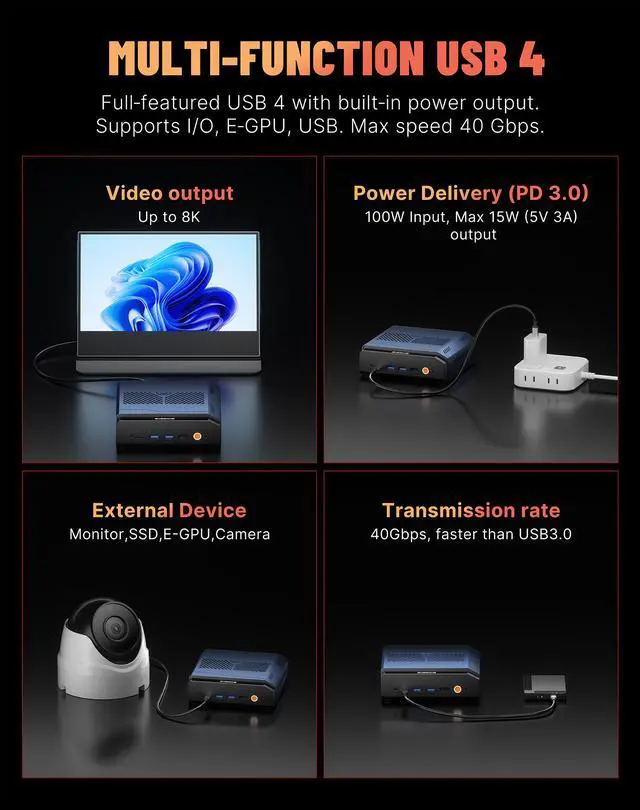
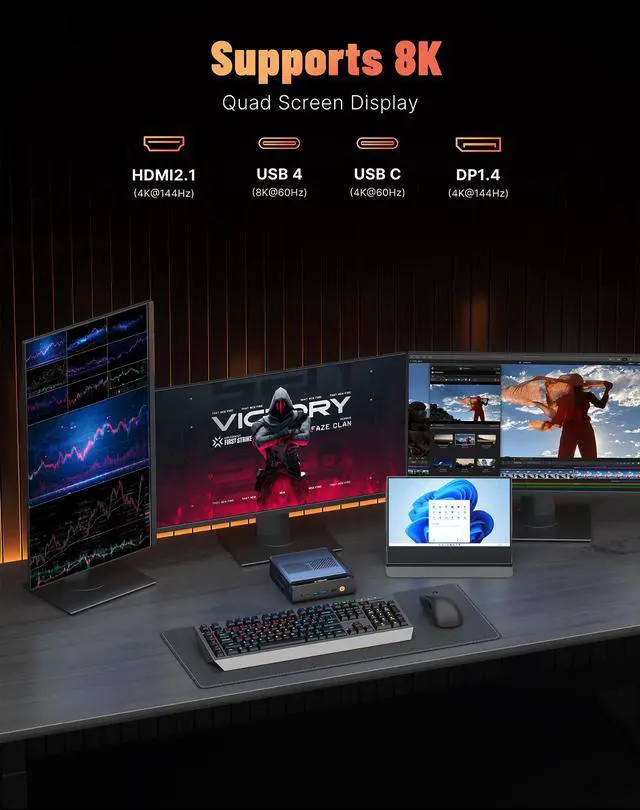
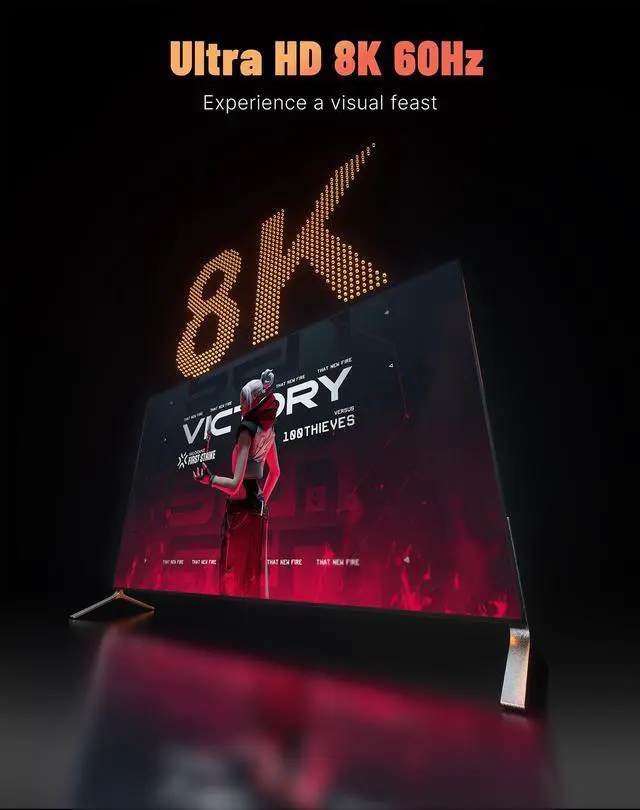
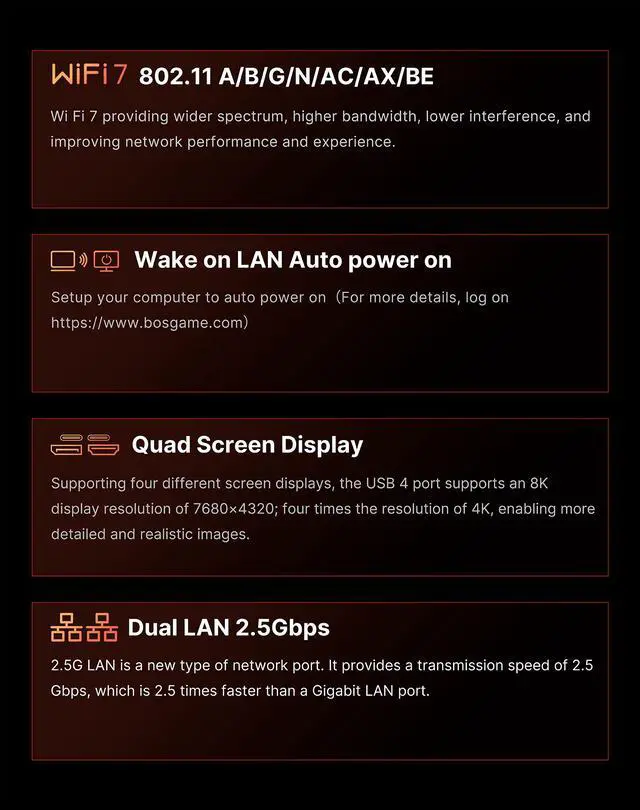
Rich comprehensive port layout empowers flexible expansion: Front comes with 1×USB4 port supporting 8K@60Hz video output & 100W PD fast charging alongside two USB3.2 Gen2 connectors; Back panel integrates dual 2.5G LAN ports, Oculink external graphics expansion port, DP1.4 & HDMI 2.1@144Hz video outputs and audio jack. Compatible with single 8K monitor or multi-monitor splicing, ideal for peripheral connection and eGPU upgrade.


* All images are for illustration only. Memory and SSDs are not included and sold separately.
Frequently Asked Questions
How do I automatically update drivers?
In "Settings - Windows Update", after connecting to the network, Windows Update will usually push the latest drivers. Just click to update.
Why can't I plug the Oculink cable into the Oculink port, and how can I fix it?
We believe that the device's port may have slightly sagged during use due to external force or other reasons, causing misalignment and preventing proper connection of Oculink cables. We recommend that you unscrew the motherboard screws to readjust the position, and then carefully adjust the Oculink interface to ensure the cable connector is aligned flush.
Removing the screws ensures that the Oculink interface on the motherboard is aligned with our port. Once your port can connect the Oculink cable, tighten the screws.
How can I improve heat dissipation on my mini PC?
Regarding your question about heat dissipation, please note the following: This mini PC is designed with portability as its core advantage, resulting in a compact internal space. Therefore, under high loads (such as demanding games or multitasking), its heat dissipation capacity is slightly less than that of a traditional desktop PC. This is a common characteristic of mini PCs.
To achieve better heat dissipation, we recommend the following when using it:
- Place the device on a well-ventilated desktop, avoiding placing it in a closed cabinet or where it is obstructed by clutter;
- Regularly clean the dust from the vents and fans;
- If needed, consider using it with a small cooling pad.
What should I do if I'm unable to enter my PIN code?
Based on your description, here are two common issues and their solutions:
Issue 1: Only numbers can be entered when setting a PIN code.
Cause: The option to input letters and symbols may not be enabled by default in the PIN code settings interface.
Solution: In the PIN code settings interface, find and check the "Include letters and symbols" checkbox to set a complex PIN code that includes letters and symbols.
Issue 2: PIN code input has no effect at startup or system interface.
Solution: First, please try using a commonly used numeric PIN code for verification. If you still cannot unlock after multiple attempts, please note: Computers usually support both PIN codes and user passwords for verification. If you have forgotten your PIN code, you can log in to the system using your previously set system user password.
How can I find the integrated graphics card configuration (shared GPU memory)?
Press "Delete" to enter the BIOS. Then, under "Advanced," find "GFX configuration set to specified value" and the option will be unlocked.
What should I do if I'm unable to enter BIOS?
Method 1: Rebooting from within Windows
On the Windows desktop, press and hold the Shift key on your keyboard.
While holding down the Shift key, click the "Start" menu, then select the "Power" button, and click "Restart".
After the computer restarts, you will enter a blue "Options" menu.
Select: Troubleshoot ? Advanced options ? UEFI firmware settings.
Finally, click the Restart button. The computer will directly enter the BIOS/UEFI settings interface upon the next startup.
Method 2: Entering via a key during startup
Completely shut down the computer.
After pressing the power button to turn it on, immediately begin rapidly and continuously pressing the Delete key (or F2, F10, or Esc key on some brands of computers).
Continue pressing until you enter the BIOS/UEFI settings interface.